How to run Windows on your iPad
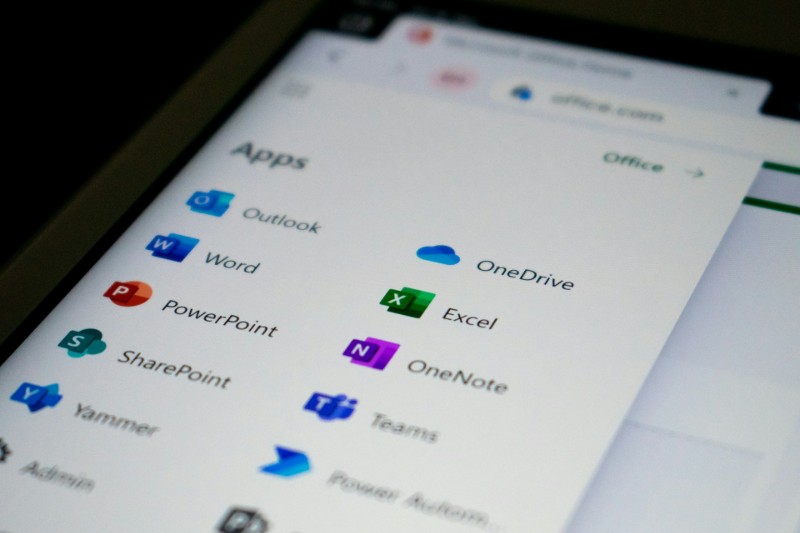
To many people, Windows is the most recognisable operating system out there and one they grew up with. As well as being the most well-known and used desktop operating system, it also dominates the global OS market, beating the likes of Apple’s OS X, year after year. With Microsoft Office’s robust suite of apps that dominate the business world, as well as home computing applications, it comes as no surprise then that, even for consumers who prefer the portability and style of Apple’s devices, they still look for ways to use Windows on their iPads.
There is currently no way to actually install Windows directly on an iPad or any other mobile Apple device. Apple is infamous for its “walled garden” approach to what can be connected to their hardware and software ecosystem, so the following methods are just workarounds.
The only way to run Windows on your iPad then is remote hosting. This guide will take you through the different ways to do just that. It goes without saying that each of the methods below requires a stable internet connection.
1. Microsoft Remote Desktop
Even with Apple’s strategy of exclusivity with their mobile devices, they have made available the Microsoft Remote Desktop app on the App Store. This allows iOS devices to access a computer running Windows and virtually control it.
Setup begins with your PC or Mac that already has Windows installed.
- Click on the Start button (the one with the Windows logo) on the bottom left of the screen.
- Click on the Settings (⚙) button.
- Click on the System (?) button.
- Scroll down on the left side of the System window and click on Remote Desktop.
- Click on Enable Remote Desktop.
- Under “How to connect to this PC”, remember the name of the PC, as you will need this to connect your iPad to this PC.
Alternatively, you can do the following:
- Click on the Search (?) button on the bottom left of the screen.
- Type “Remote Desktop” on the Search bar.
- Click on “Allow Remote Access to your computer”.
- A “System Properties” window should pop up, and it should be on the “Remote” tab. Click on the button next to “Allow remote connections to this computer” then click on “OK”.
- Click on the Search (?) button on the bottom left of the screen.
- Type “cmd” in the Search bar.
- Click on the Command Prompt app.
- Type “ipconfig” in the Command Prompt app.
- Look for IPv4 Address. You will use the provided numbers to connect your iPad to this computer.
With your host Windows computer set up, it’s time to set up your iPad.
- Download the Microsoft Remote Desktop app on the App Store on your iPad.
- Once it’s installed, open the app.
- In the Connection Center, tap the + button.
- Tap “Add PC or Server”.
- Type the name of the PC or Mac or the IPv4 address.
- Enter a username to use when accessing the PC or Mac remotely. You can choose to have a password for this user profile.
- Wait for the iPad to connect to the PC or Mac.
Once the connection has been established, you should then be able to use Windows on your iPad with all the regular touch controls.
Take note that the computer your iPad is connected to should remain powered on. If it is turned off or goes to Sleep mode, your iPad will lose connection and switch back to iOS.
2. Parallels Access
Parallels Access is a paid product that follows a similar process as Microsoft Remote Desktop in connecting your iPad to your computer running Windows. It is, however, much more straightforward. It also has the advantage of letting you access your Windows computer even on the go through a mobile data connection, granting you more flexibility.
Like with Microsoft Remote Desktop, setup begins with your PC or Mac running Windows.
- Download the Parallels Access desktop app on your PC or Mac. You will need to create a Parallels account on the site, or use your Google or Facebook account to register before you can download the app.
- Once the app has finished downloading, open it and follow the installation process.
- Once it has finished installing, you should see a green light that says your computer is accessible.
With Parallels Access installed on your PC or Mac, you can then set up Parallels Access on your iPad.
- Download Parallels Access from the App Store.
- Once it’s installed, open the app.
- Sign in to your account using the same email and password you used to register the Parallels Access desktop client.
- With the app open, you should be able to see your PC or Mac that has Parallels Access installed on it.
- Tap your PC or Mac to connect your iPad.
- Wait for the iPad to connect to the PC or Mac.
Using Windows on your iPad with Parallels Access functions is basically like using Microsoft Remote Desktop with all the same touch controls. The host computer should also be kept on when you have your iPad connected to it. This works over any internet connection, so you can use your iPad with Windows wherever you may be in the world with internet access, as long as the host computer is powered on.
3. Amazon WorkSpaces
Like the previous two solutions, Amazon WorkSpaces makes it possible to use Windows on an iPad through remote access of a computer running Windows. What makes it unique is that it connects mobile devices to Amazon’s own servers. This means you don’t need to have your own PC or Mac with Windows installed.
- Create an Amazon Web Services (AWS) account. You need this account to use Amazon WorkSpaces.
- Sign up for Amazon WorkSpaces with your AWS account. Follow the instructions to create your virtual desktop.
- Download the Amazon WorkSpaces from the App Store on your iPad.
- Check your email for a link from Amazon that will complete the creation of your Amazon WorkSpaces account.
- Log in to your Amazon WorkSpaces app on your iPad using the credentials for your completed Amazon WorkSpaces account.
You should now be able to use Windows on your iPad using the Amazon WorkSpaces app with full touch control functionality. All data is stored in the cloud, so you don’t have to worry about taking up space on your iPad.
You will be able to use Windows on any device for free for the first two months. Afterward, you will have to pay a subscription fee to continue using it. They have multiple pricing options available, along with available storage and apps.
Closed Windows
While all these remotely hosted workarounds are completely serviceable, it’s worth remembering they are still just workarounds. Functionality is limited by the strength of your internet connection, and no internet means no use.
It is unlikely Apple will allow Windows to be directly installed on their mobile devices anytime soon, so you’ll always have to deal with a restricted experience that will never beat running Windows on a local harddrive. Depending on how much portability you need, you might also end up needing to purchase software. With all that being said though, you’ll still be running Windows on your iPad and for some people that’s enough to get excited about.