Upgrade to Filemaker 11
In order to upgrade your current Filemaker installation for OrganiseIT please follow our step by step instructions.
The instructions are divided into four sections (1-4). We have included screenshots to visually aid your installation within each section. Please speak with us directly if you experience any problems while concluding your upgrade. Before starting the upgrade please ensure you have no open programs. We also advise that you may wish to print this page or the PDF copy of the instructions below in case your machine has to restart in the process:
Click Here For PDF Instruction Document
1). Download Upgrade Files
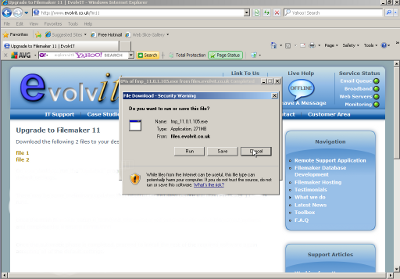
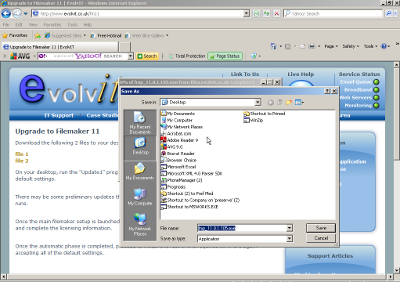
Please download the following 2 files to your desktop. These may take up to 20 minutes to download subject to your broadband speed. Click on each link, select save and set the location to your desktop so the file can be easily located once downloaded and click “Save” again:
2). Installing FileMaker Upgrade
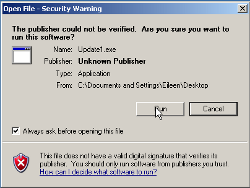
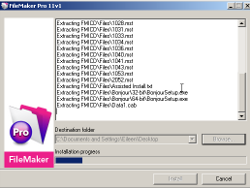
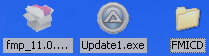
Once the files have downloaded, please navigate to your desktop and locate the “Update1” file (icon pictured below). Double-click the file to run the “Update1” program and click “run” if prompted by a security warning. Proceed through the install process accepting all of the default settings. Once the main FileMaker setup is launched, the updater will automatically select the correct options and complete the licensing information.

IMPORTANT NOTE:
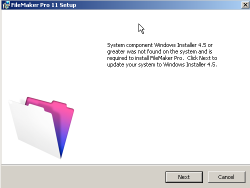
Some machines may now prompt you to install some preliminary updates for Windows as you progress to the above screenshot. If you are presented with this install please proceed to appendix i). Additional Windows Update before continuing with section 2:
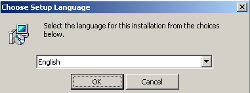
Click “Ok” on the language screen ensuring “English” is in the box:

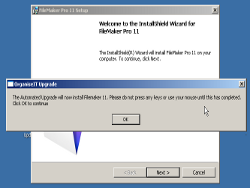
You will then be prompted to start the automatic update process. Please click “Ok” and do not use your machine until you are prompted that the update has been completed:
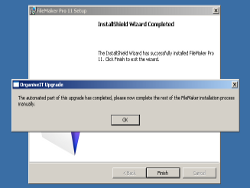
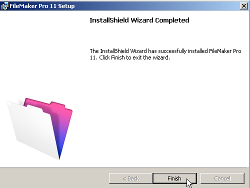
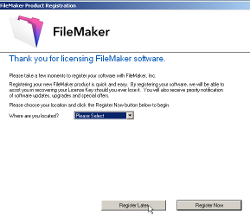
To complete the update wizard please click “Finish”. You will then be prompted to register the software, simply click “Register Later”:
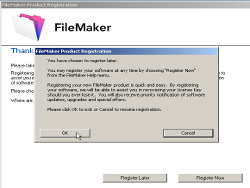
At the next set of screens, click “ok” to confirm registering later.
IMPORTANT NOTE:
Some machines may now prompt you to install Bonjour if you do not already have this installed on your machine. If you are presented with this install please proceed to appendix ii). Installing Bonjour before continuing with section 3:
3). Configuring Filemaker
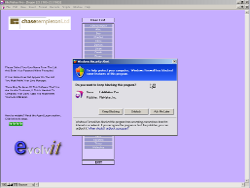
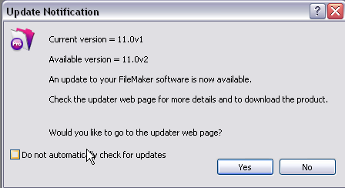
Please click on your FileMaker launcher file on the desktop to load the database. You may be asked a firewall question by Windows, simply click on the “Allow” or “Unblock” option. You will also be asked if you wish to update FileMaker to a newer version: simply tick the box “Do not automatically check for updates” and then click “no”:
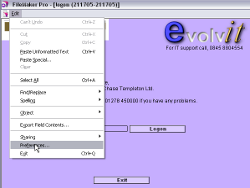
Once Filemaker has loaded up please click on the “Edit” menu located at the top of your screen. Once the menu expands please click on “Preferences”:
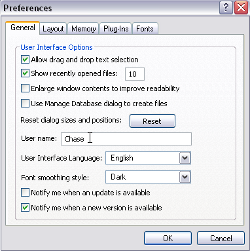
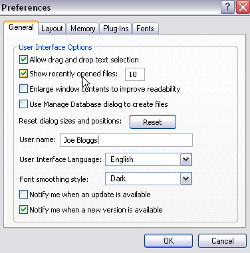
Located in the opened preferences window you will see a box labeled “User Name” containing the words “Chase”. Please click in this box, delete the text and enter in your full name e.g. “Joe Bloggs”. Once edited click “Ok”:
4). Deleting Installation Files
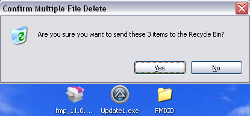
Once the FileMaker upgrade has been completed (steps 1-3), the final step is to delete the installation files off the desktop. You will see three files labeled “Update1.exe”, “fmp_11.0.1.105.exe” and “FMICD”. Please highlight all three icons and press the “delete” key on your keyboard:
When asked if you wish to delete these files to the recycle bin click “Yes”. The files will now be deleted off the desktop and placed in the recycle bin ready for full deletion when you next empty the recycle bin:
This completes the installation upgrade to your FileMaker. If you have any problems at this point please speak with us where we will be happy to assist.
Thank You, EvolvIT
Appendix Section
i). Additional Windows Update
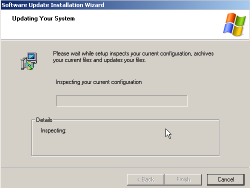
Please click on “Next” in the FileMaker setup window where you will then be taken to a windows update install (see below images). Run the window update to completion (this may differ depending on the version of Windows running, we have used XP in the screenshot example, but the principle will remain the same). Your machine may ask to be restarted – please select yes to restarting.
IMPORTANT NOTE:
When your machine restarts, FileMaker may load the setup again, please exit the setup and allow your machine to load back into the Windows Desktop. Once the machine has loaded the desktop please return to the start of section 2). Installing FileMaker Upgrade.
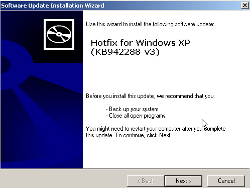
Click “Next” and “Next” again:
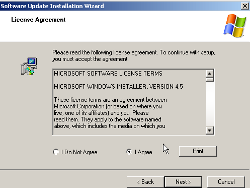
“Accept” the license agreement and click “next” to start the install:
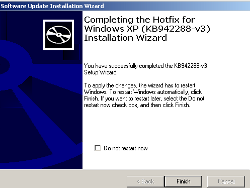
Click “Finish” to complete the update and wait for your machine to reboot before returning to the top instructions and complete the FileMaker upgrade:
IMPORTANT NOTE:
When your machine restarts, FileMaker may load the setup again, please exit the setup and allow your machine to load back into the Windows Desktop. Once the machine has loaded the desktop please return to the start of section 2). Installing FileMaker Upgrade.
ii). Installing Bonjour
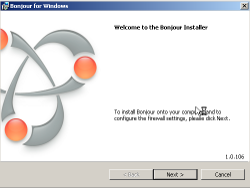
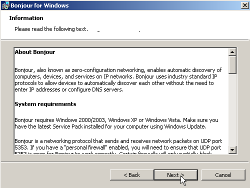
If your machine requires the installation on Bonjour you will have been prompted with a Bonjour installation window pictured below. Simply follow the install through by clicking on the “next” button:

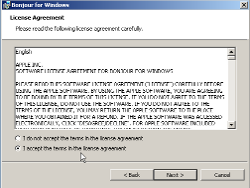
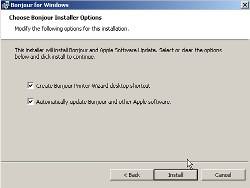
Click “Next” again and select “I Accept the agreement” at the license screen followed by “Next” to continue:
Click “Next” again followed by “Install”:
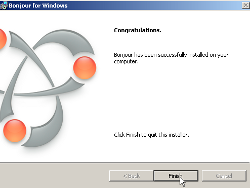
Once Bonjour has completed simply click the “Finish” button to exit the installation.
Once the installation wizard has closed please complete section 3). Configuring Filemaker